Table of Contents
Last Updated on: 29th July 2023, 11:22 pm
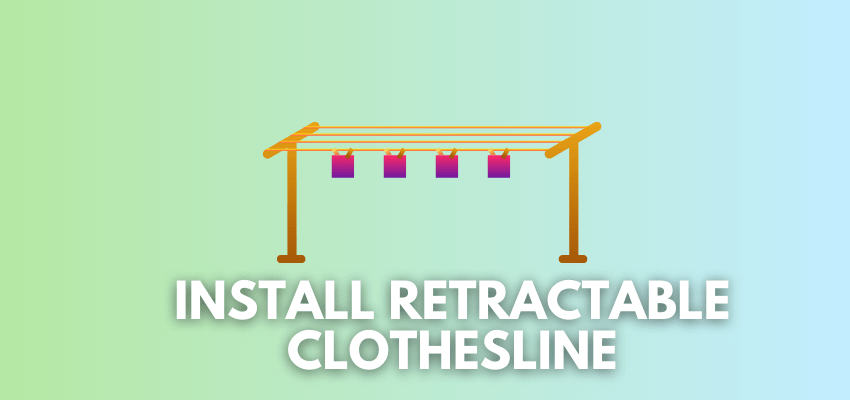
Installing a retractable clothesline is a simple and efficient way to save space and keep your laundry area organized. Unlike traditional clotheslines, retractable ones allow you to extend and retract the line as needed, making it easy to utilize the space effectively when not in use.
Therefore, it’s vital to discuss the retractable clothesline installation process so that anyone with a limited laundry space could benefit from this.
Whether you want to set it up indoors or outdoors, follow these straightforward steps to install a retractable clothesline and start enjoying the convenience it offers.
So without any further ado, let’s dive deep into this.
A Step-by-Step Guide to Installing Retractable Clothesline
Let’s take a look:
Step 1: Choose the Ideal Location
Selecting the right location for your retractable clothesline is crucial for its effectiveness and longevity. Look for an area that receives ample sunlight and has proper airflow to help your clothes dry faster. Also, ensure there’s enough space to extend the clothesline to its maximum length without obstructions.
Step 2: Gather the Necessary Tools
Before starting the installation, gather the required tools and materials. You’ll typically need a drill, screws, anchors, a screwdriver, a level, and the clothesline kit, which usually includes the retractable reel, nylon line, and wall brackets.
Step 3: Mount the Wall Brackets
Using a level to ensure proper alignment, mount the wall brackets to the chosen location. If you’re attaching the clothesline to a brick or concrete wall, use appropriate anchors to secure the brackets firmly in place. For wooden walls, make sure to use sturdy screws to ensure a stable installation.
Step 4: Fix the Retractable Reel
Once the brackets are securely mounted, attach the retractable reel to the brackets using the provided screws. Ensure the reel sits properly and does not wobble. Test the reel by extending and retracting the line a few times to confirm the smooth operation.
Step 5: Thread the Nylon Line
Take the nylon line from the clothesline kit and feed it through the retractable reel as per the manufacturer’s instructions. Ensure there is enough tension in the line to keep it taut when clothes are hung. Most retractable clotheslines come with a line lock or tension control feature, so adjust it accordingly.
Step 6: Install the Line Hook
At the opposite end of the wall brackets, install the line hook to hold the extended clothesline in place when in use. This hook will prevent the line from sagging and help keep your clothes evenly spaced for efficient drying.
Step 7: Test the Clothesline
After completing the installation, test the clothesline’s functionality. Extend the line and hang a few lightweight items to ensure they can hold the weight without any issues. If you find any problems, such as the line sagging or the reel not retracting properly, double-check your installation and adjust the tension as needed.
Step 8: Final Adjustments
Make any necessary adjustments to the clothesline’s tension or alignment to achieve optimal performance. It’s essential to have a well-balanced tension to prevent line sagging and maintain the integrity of the clothesline.
What tools are needed to install a retractable clothesline?
To install a retractable clothesline, you will need the following tools:
- Drill
- Measuring tape
- Pencil
- Safety gear
- Shifter or spanner
- Shovel
- Sliding square
- Post hole digger
- Miter saw or circular saw
- Reciprocating saw
- Drill bits
- Ratchet to fit bolts
These tools are necessary for drilling holes, attaching the mounting brackets, positioning the end post, and cutting the clothesline to the appropriate length. It’s important to wear safety gear, such as gloves and goggles when using power tools.
What safety precautions should be taken when installing a retractable clothesline?
When installing a retractable clothesline, it’s important to take the following safety precautions:
- Wear safety gear: When using power tools, such as a drill or saw, wear safety gear such as gloves and goggles to protect your hands and eyes.
- Check the walls and surrounding structures: Make sure the walls and any surrounding structures, such as a fence or post, are strong enough to hold the weight of the clothesline. If not, reinforce the area before installing the clothesline.
- Position the clothesline properly: Make sure to position the clothesline in a location that is convenient for you to access and has enough space for the clothesline to extend. Line up the clothesline properly before bolting it into place.
- Follow the manufacturer’s instructions: Follow the manufacturer’s instructions for your specific clothesline model to ensure proper installation and use.
By taking these safety precautions, you can ensure a safe and successful installation of your retractable clothesline.
Conclude the Retractable Clotheslines Installation Process
Now you know how a retractable clothesline works; it’s a straightforward process that offers significant benefits in saving space and making your laundry routine more convenient.
By carefully choosing the location, securely mounting the wall brackets, and ensuring proper tension in the nylon line, you’ll have a reliable clothesline for years to come.
Whether you set it up indoors or outdoors, the retractable clothesline will keep your laundry area organized while providing an eco-friendly and cost-effective way to dry your clothes. Enjoy the convenience and efficiency of your new retractable clothesline!